
Guide to installing concrete paver
Concrete pavers guide
Before your pavers are delivered
When you order your pavers, delivery will usually occur within a day or two of ordering. However, it’s a wise idea to check exactly what date delivery will occur, before preparing your site.
Prepare the paving site
Follow these steps to professionally prepare your paving site:
· Excavate the area to be paved. You’ll need to excavate to a depth to allow for:
- The base layer of 75 – 150mm thick road base
- 20mm – 30mm of paver bedding sand
- The thickness of the paver – usually between 40 and 50mm thick
- Use a spirit level to establish the falls and level
- Spread the road base evenly and compact it using a vibrating plate compactor
- Fill any uneven or low spots with extra road base to achieve a flat, level base
- Allow a clear path for water drainage by sloping away from the house
- Rectify any soft spots or drainage issues
- Use PVC piping or something similar to create 20 – 30mm thick screed rails. Place these parallel to each other and around a metre apart on the road base.
- Spread paver bedding sand roughly over and between the screed rails. Never use crusher dust or cracker dust, as these can cause staining.
- Using a concrete screed or similar, use a zig zag left to right motion to scrape away excess sand
- Without disturbing the sand, slide the screed rails out
- Fill the voids with paver bedding sand and smooth the surface with a trowel
Establish paving lines
Use string lines at right angles to establish paving lines. This will give your paving a professional look by keeping the joints straight.
As well, don’t leave your pavers stacked in “star-stacks” for more than a few hours. When stacked in this way, any paver corners exposed to the air will go lighter than the covered parts of the paver after a day or two. The pavers need to be evenly exposed to oxygen once the wrapping comes off.
Allow some extra
Always save some pavers to allow for mishaps. You never know when you might need a few spares in case you need to replace pavers in the future. Store these away carefully and make sure they are well wrapped.
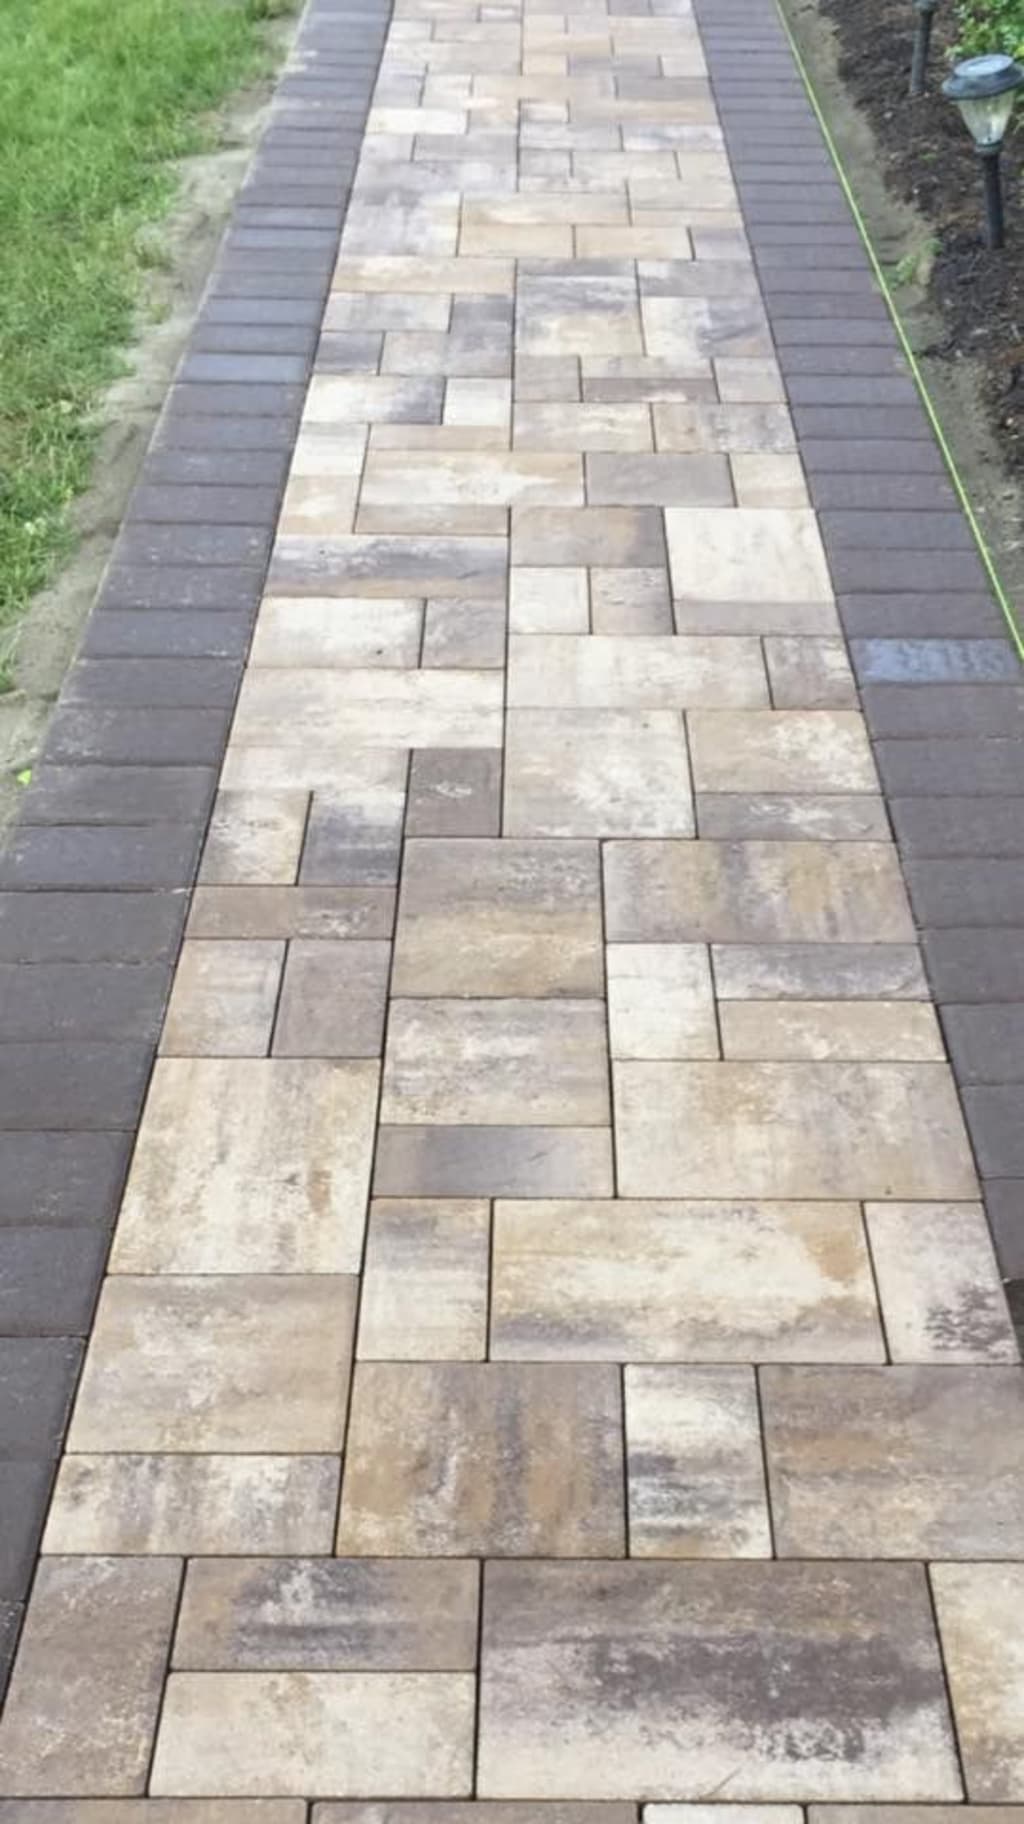
Lay your pavers
Using your stringlines as a guide, start laying your pavers along the longest straight edge of the area. Lay whole pavers first. Keep visually checking to make sure they’re straight as you go. Leave 3 – 5mm between each paver to allow for jointing sand. You should never butt-joint pavers, as this will lead to crooked lines. Always leave a bit of space.
If you’ve ordered multiple pallets of concrete pavers, use a blending technique to ensure uniformity of colour, pattern and texture. As you lay the pavers, blend them from a number of pallets, as the colours will usually vary a little from pallet to pallet. They may also vary from batch to batch, due to weather conditions and variations in natural materials during manufacturing and curing.
Modify your pavers
If your area requires pavers to be cut, use an angle-grinder for small jobs or a brick saw for bigger jobs, to re-size pavers to fit. Mark the cuts first on the paver before cutting. Always use appropriate safety equipment.
Fill the joints
Use a jointing sand over the paving area to fill the joints. Use a clean, fine, silica-based product rather than a dry sand/cement mix. Polymeric sand can be used to reduce weeds, ants and wash outs in small joints. Wider joints can be grouted with an air curing mortar jointing compound.
Add the finishing touches
Use a light vibrating plate compactor to compact the pavers into the bedding sand and settle the jointing sand. This will lock the pavers in. Use a piece of soft carpet on the base of the compacter to protect the pavers. If pavers do break during this process, just replace them.
Finish with a good sweep to remove all the excess jointing sand. You may need to top this sand up over the next few weeks, so keep some handy.
For maximum protection, seal the pavers after installation with a penetrating sealer.
About the Creator
Keep reading
More stories from writers in Lifehack and other communities.
Your C-Suite Is Not Your Therapist
I don’t walk into boardrooms as “the feelings guy.” I walk in as the data scientist in a Superman cap who shows up with models, not vibes: sentiment scores, burnout‑risk curves, and an emotional load index for your leadership team that you can plug straight into a board deck. I’ve helped architect more than $48M in AI‑attributed revenue, and I still end up doing emotional triage on founders who confuse their C‑suite with a therapy group.
By joshua estrin, PhD4 days ago in Lifehack
12 Life Lessons The Golden Girls Taught Us
Picture it: Miami, 1985. Four middle-aged actresses agree to play the characters of Blanche, Rose, Dorothy, and Sophia who share a home in a TV sitcom called The Golden Girls, unaware at the time of the kind of impact the show would leave on its adoring fans. The show aired until 1992, ending with a one-season spinoff called Golden Palace. The seven years we were graced with The Golden Girls on our television screens made its mark. More than three decades after Susan Harris’ imagination sparked the creation of these iconic characters, fans from around the world still watch reruns of The Golden Girls, spend time discussing the show on social media in Facebook groups like The Golden Girls Fanatics, carry Sophia-inspired handbags and relate to the episodes in their daily lives.
By Criminal Matters2 days ago in Humans


Comments
There are no comments for this story
Be the first to respond and start the conversation.